Jenkins is an open-source automation tool that helps to automate parts of the software development process.
It is typically used for continuous integration and continuous delivery of software projects.
One of the methods to set up Jenkins on a Windows system is by using jenkins.war file. In this method, you don’t have to worry about permissions for the Jenkins installer.
Prerequisites
- 256 MB of RAM
- 1 GB of drive space
- Download and Install JDK from: https://adoptium.net/download/
Step 1: Download Jenkins .war
[Jenkins download and deployment
The Jenkins project produces two release lines: Stable (LTS) and regular (Weekly). Depending on your organization's…jenkins.io](https://www.jenkins.io/download/#downloading-jenkins "jenkins.io/download/#downloading-jenkins")
In the LTS section, click on the Generic Java package (.war).

Step 2: Move the file to C: and Run with Java Command
After downloading, move the jenkins.war file to C: in a new folder.
Open cmd in the folder, and paste the command:
java -jar jenkins.war --httpPort:9090

Unlocking Jenkins
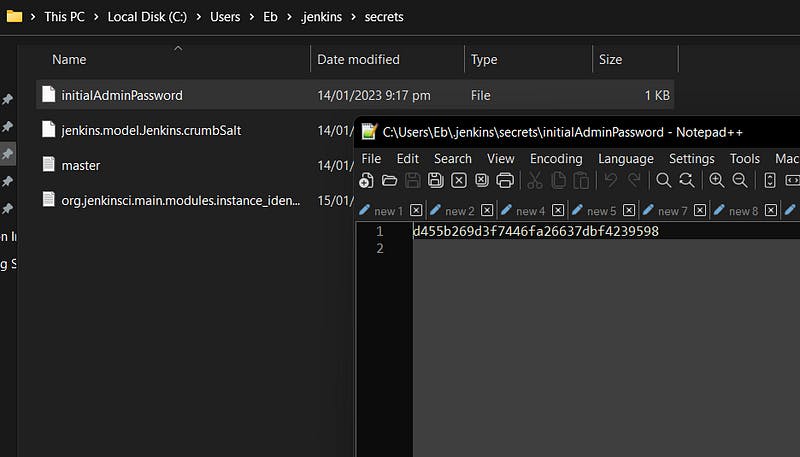
Step 3: Find and Copy Jenkins's password
Visit C:\Users\[YOUR SYSTEM NAME]\.jenkins\secrets
Find and open a file named “initialAdminPassword”.
Copy the password inside the file.
Step 4: Visit localhost:9090
Copy and paste the following into the browser search bar
localhost:9090
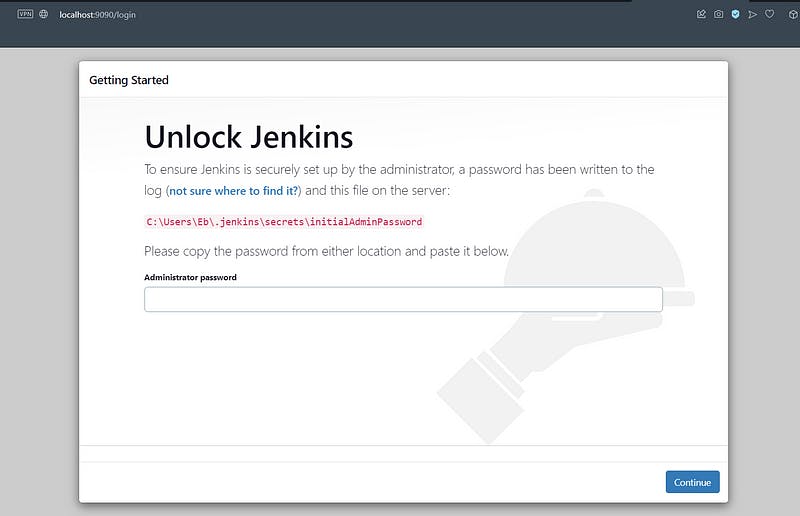
Paste the password from “initialAdminPassword” into the Administrator password input box.
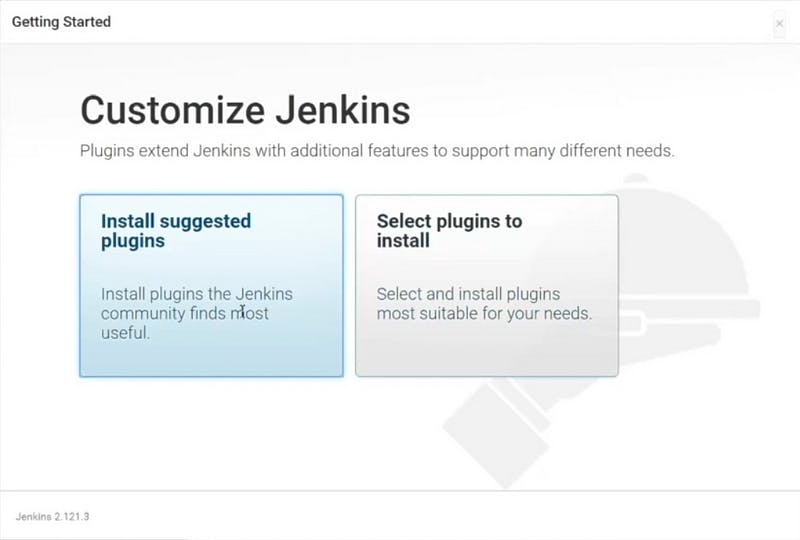
Step 5: Install suggested plugins
Click on Install suggested plugins to install the recommended set of plugins, which are based on the common use cases.
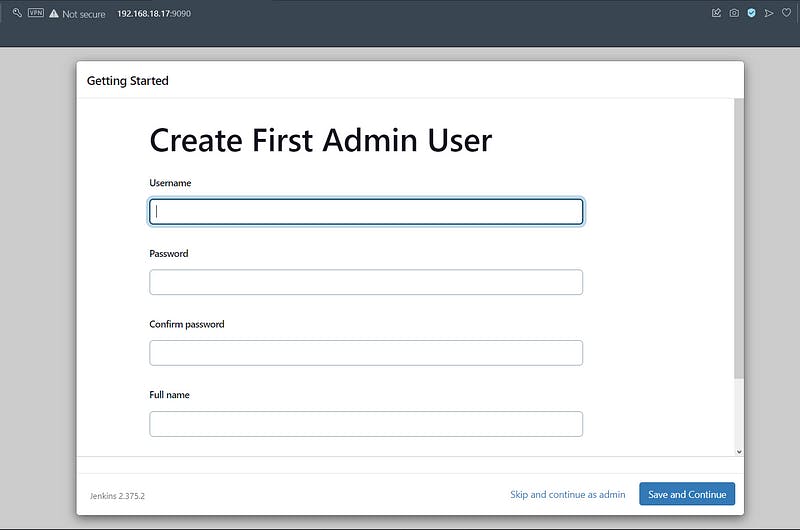
Step 6: Create an Admin User
Enter the required information for a user with administrative rights.
You have the option to continue using Jenkins as a root user too by clicking “Skip and continue as admin”
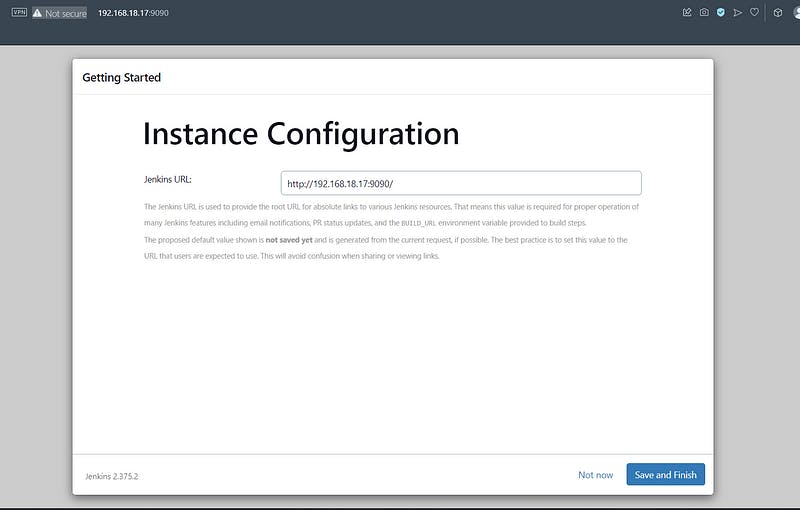
Copy the Jenkins URL to use it in the future to access the Jenkins Dashboard.
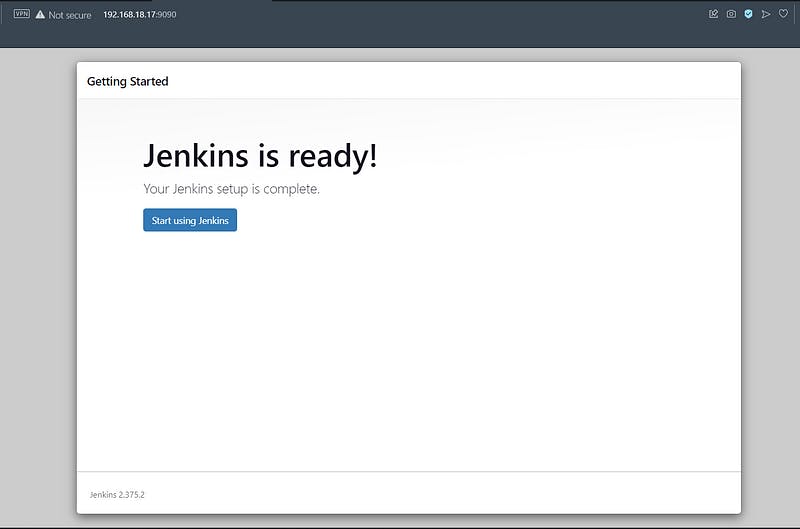
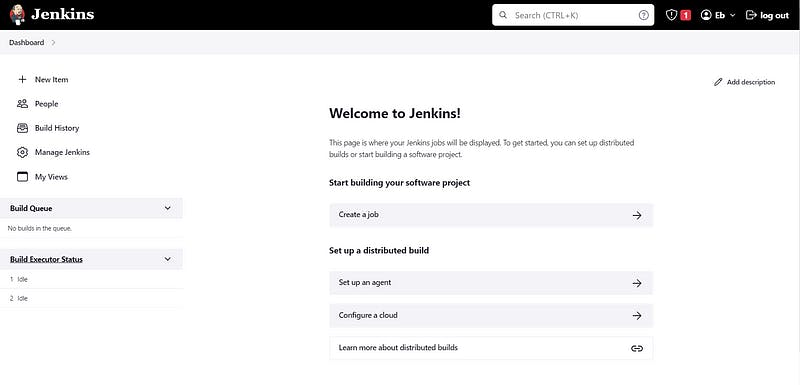
Finally, you have your Jenkins Dashboard. Happy Building :)
