

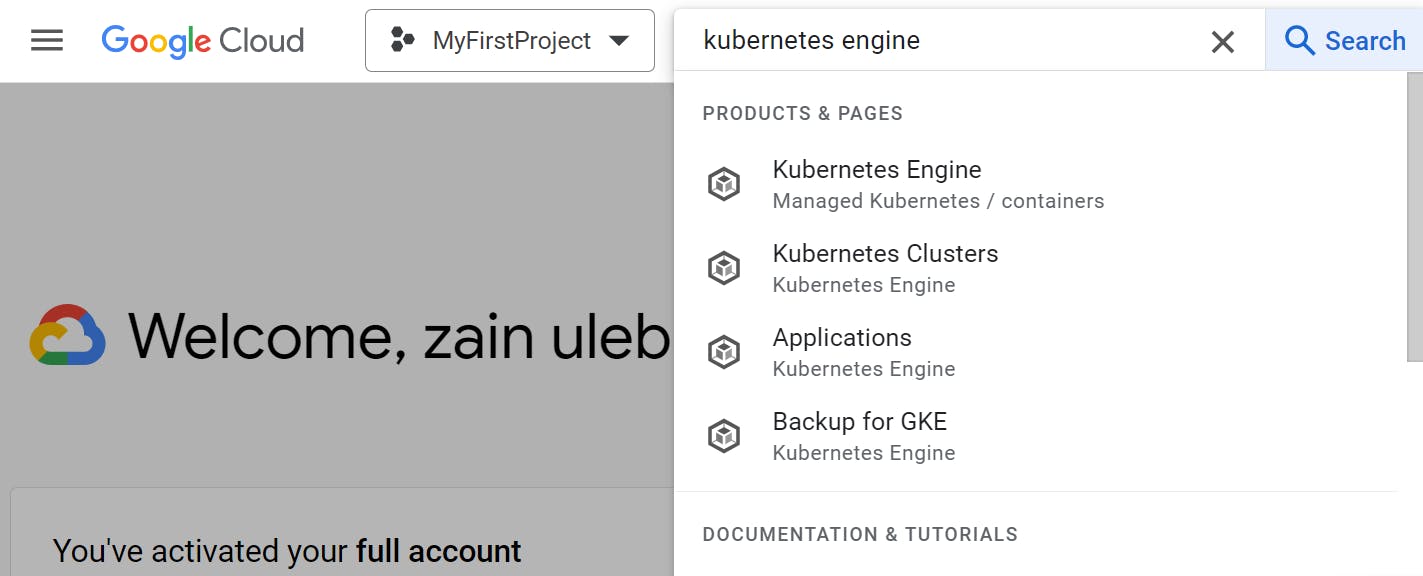
Step 1: Go to the Cloud Console
First, head over to the Cloud Console at console.cloud.google.com and navigate to the GKE cluster. The Google Kubernetes Engine can be accessed via Quick Access or you can search for it in the engine.
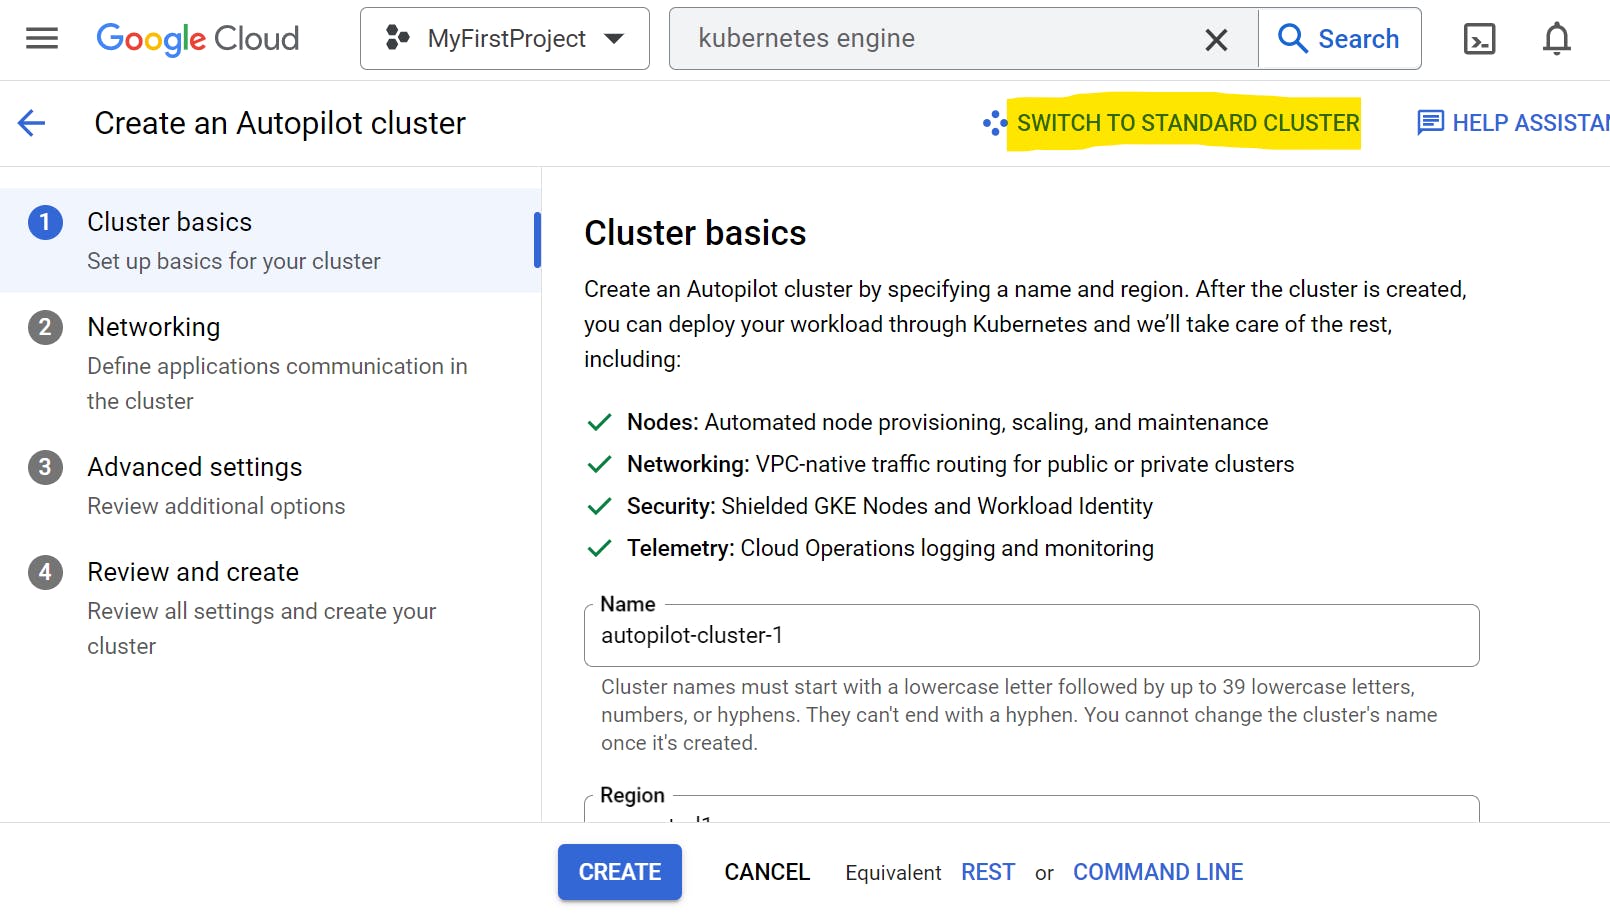
Step 2: Create a Kubernetes GKE Cluster
Once you've landed on the Kubernetes Engine Service, you should be able to see an option to create a Kubernetes GKE Cluster. Click on 'Create'. There will be two types of clusters available: Autopilot and Standard. For this guide, we will be creating a standard GKE cluster.

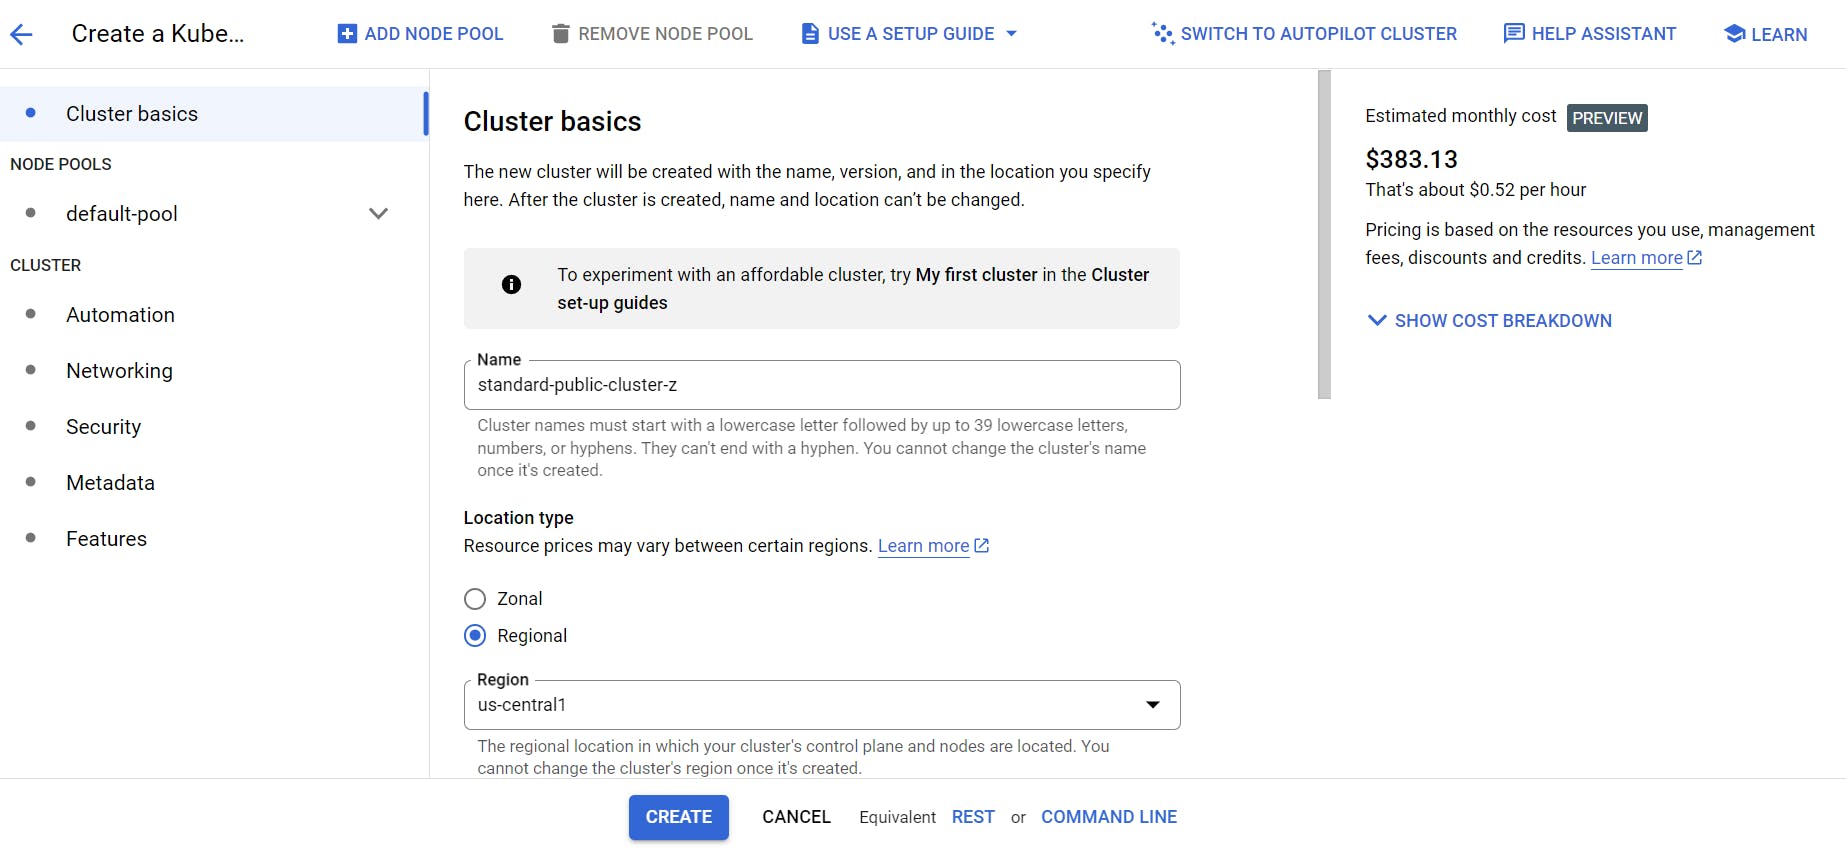
Step 3: Configure Cluster Basics
Provide a name for your cluster. For instance, you could name it 'Standard Private Cluster'.
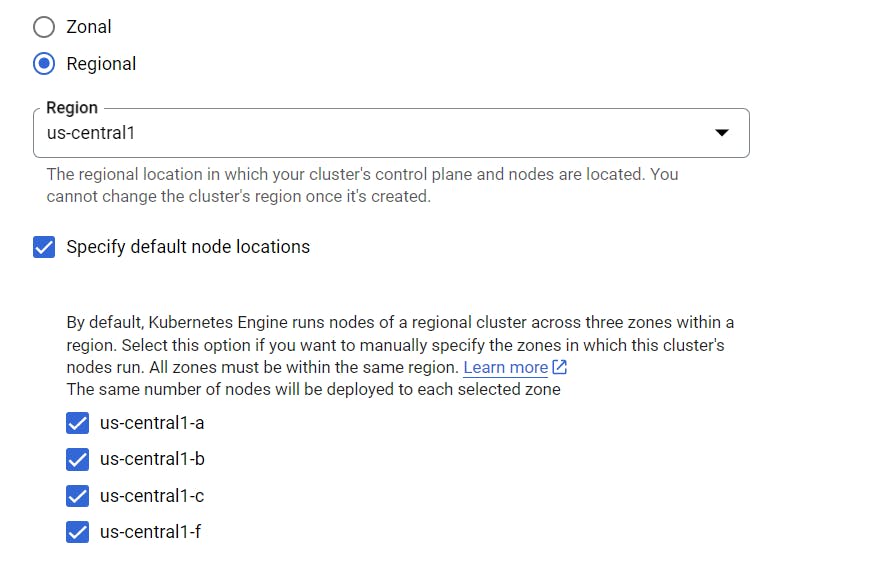
We will also set up a regional cluster instead of a zonal cluster for redundancy across multiple zones. For this example, the region selected is 'us-central-1'.
Step 4: Set up Node Locations and Select Control Plane Version
For redundancy across multiple zones, specify node locations such as 'US Central One', 'Zone One', 'Zone B', and 'Zone C'. Next, select the control plane version. The 'Regular Channel' is recommended, but if you want to use the latest version, select 'Rapid Channel'.
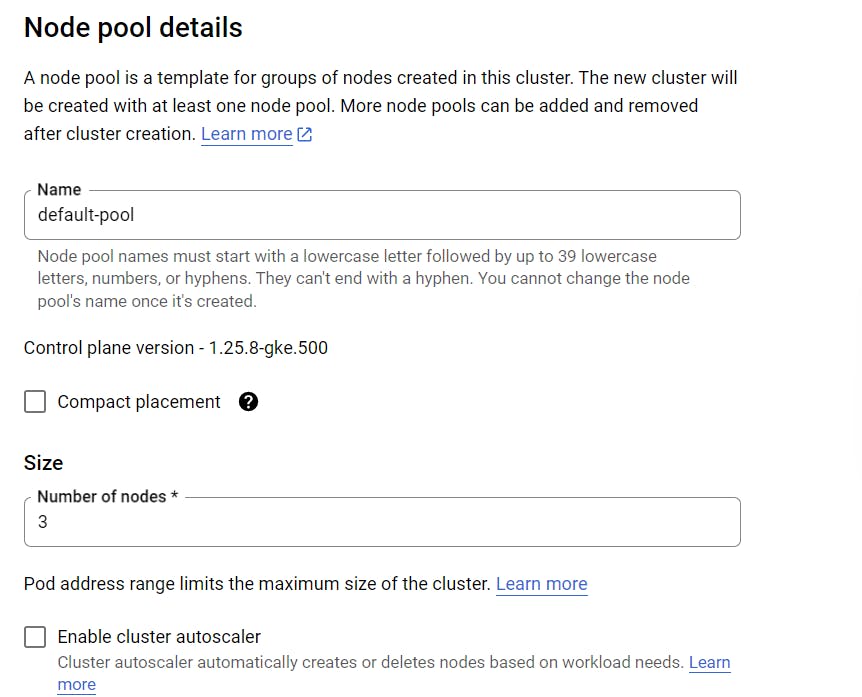
Step 5: Configure Default Pool Settings and Select Node Size
Next, configure the default pool settings. Here, you can also adjust the size of your cluster by choosing the number of nodes per zone. For instance, if you select one node per zone, three VM instances will be created in total, one in each zone.
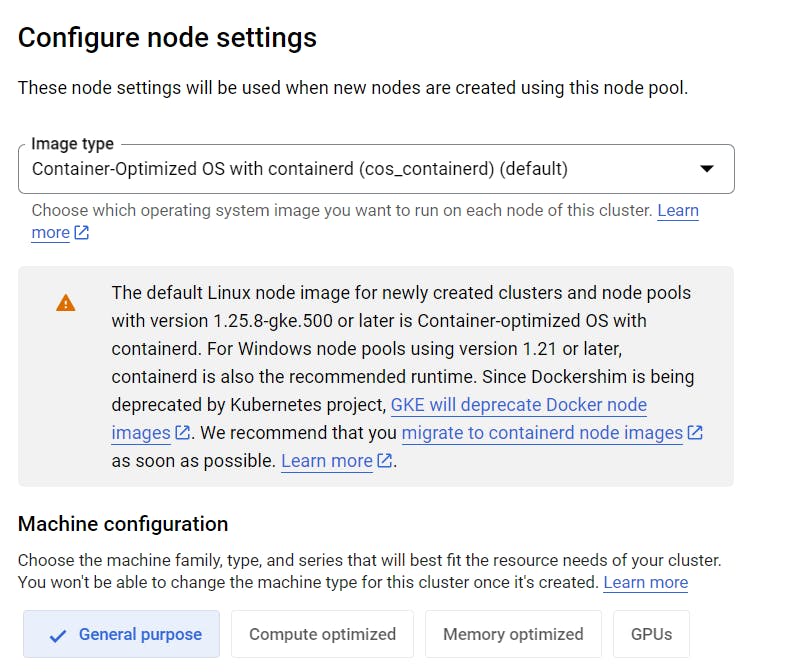
Step 6: Select Image Type and Machine Family
Proceed to the nodes section and choose 'Container Optimized US with Container' as the image type and 'E2' as the machine family. Also, select 'E2 Small' as the machine type.
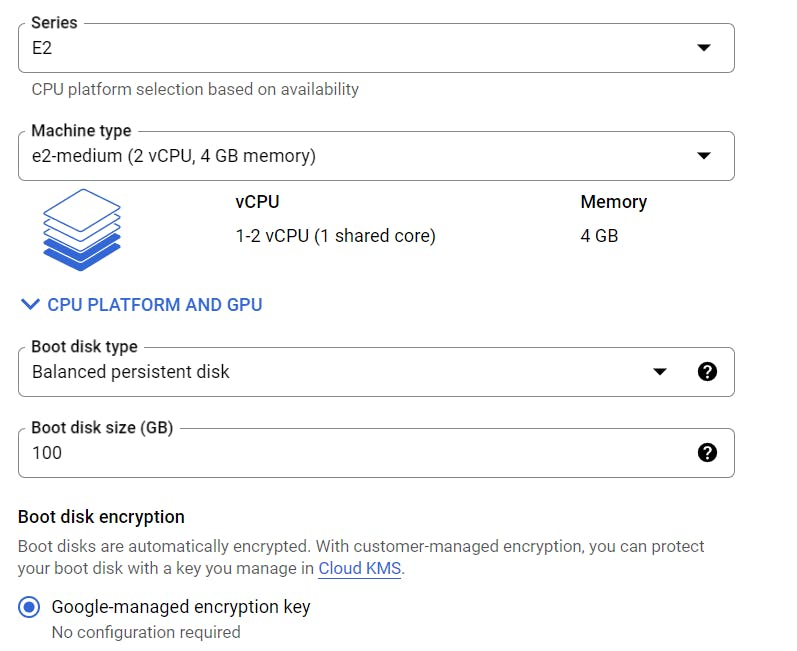
Step 7: Select Disk Type and Adjust Boot Disk Size
Next, you can select the disk type. If you want to reduce your cost a bit more, you can select 'Standard Persistent Disk'. For this example, we'll go with 'Balanced Persistent Disk'. Adjust the boot disk size of each VM instance to 20GB to further reduce the cost.
Step 8: Enable Node on Spot VMs
Since this is a test cluster, you can enable 'Node on Spot VMs', which are priced lower but provide no availability guarantees. This should reduce the cost of your cluster further.
Step 9: Configure Networking Settings
Move on to the networking settings and leave the default settings untouched. The same applies to the security and metadata settings.
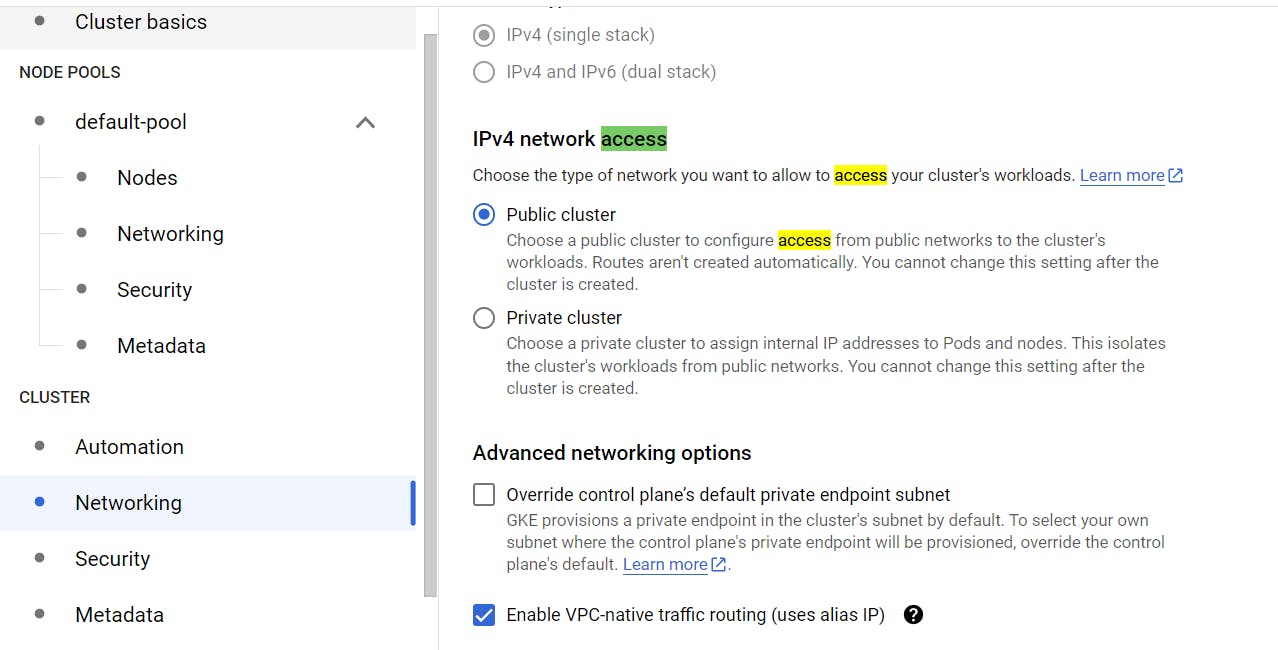
Step 10: Choose Cluster Access
Choose a public cluster to access and configure access from public networks to the cluster workloads. This cannot be changed once the cluster is created.
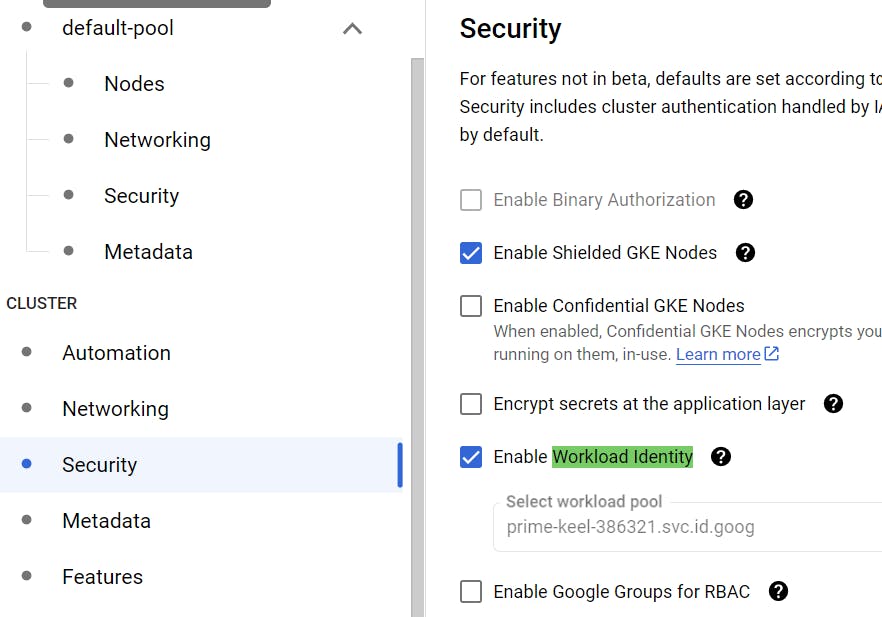
Step 11: Enable Workload Identity
In the 'Security' section, enable 'Workload Identity'. Workload Identity lets you connect securely to Google APIs from Kubernetes Engine workloads.
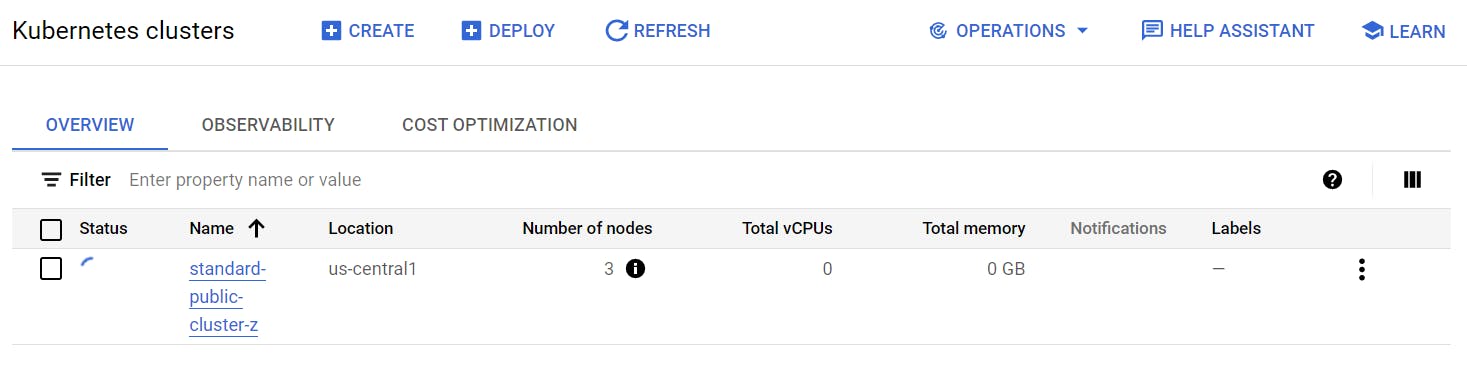
Step 12: Create the Cluster
Finally, click 'Create' to set up the cluster. The cluster creation process can take between 3 to 5 minutes.
The Fun Finale!
In the world of Kubernetes, there's always something new to learn and new challenges to conquer. So, embrace the journey, keep experimenting, and remember to have fun along the way!
Here's to many more GKE adventures! Until next time, happy Kubernet-ing!
Until then, why don't you drop by my GitHub? I go by zainuleb there and I keep it updated with all sorts of cool projects. And hey, while you're surfing the interwebs, feel free to connect with me on LinkedIn too. Let's talk tech, dreams, or the latest games.
Last but not least, for the day-to-day shenanigans you can find me on Instagram at @zainuleb. I promise my feed is more than tech stuff.
Until we meet again keep exploring, stay curious, and remember, in a world where you can be anything, be kind.
-Zain